
How to Install a Wi‑Fi Router (Step‑by‑Step Guide with Images)
Introduction
In this guide, you’ll learn how to install a Wi‑Fi router at home, step by step.
The instructions are written so you can easily use them as a WordPress blog post, with suggested images and alt text for each step.
What You Need
- Your new router
- Power adapter (comes with the router)
- Ethernet cable (LAN cable)
- Internet modem from your ISP (if you have one)
- A phone, tablet, or computer with a web browser
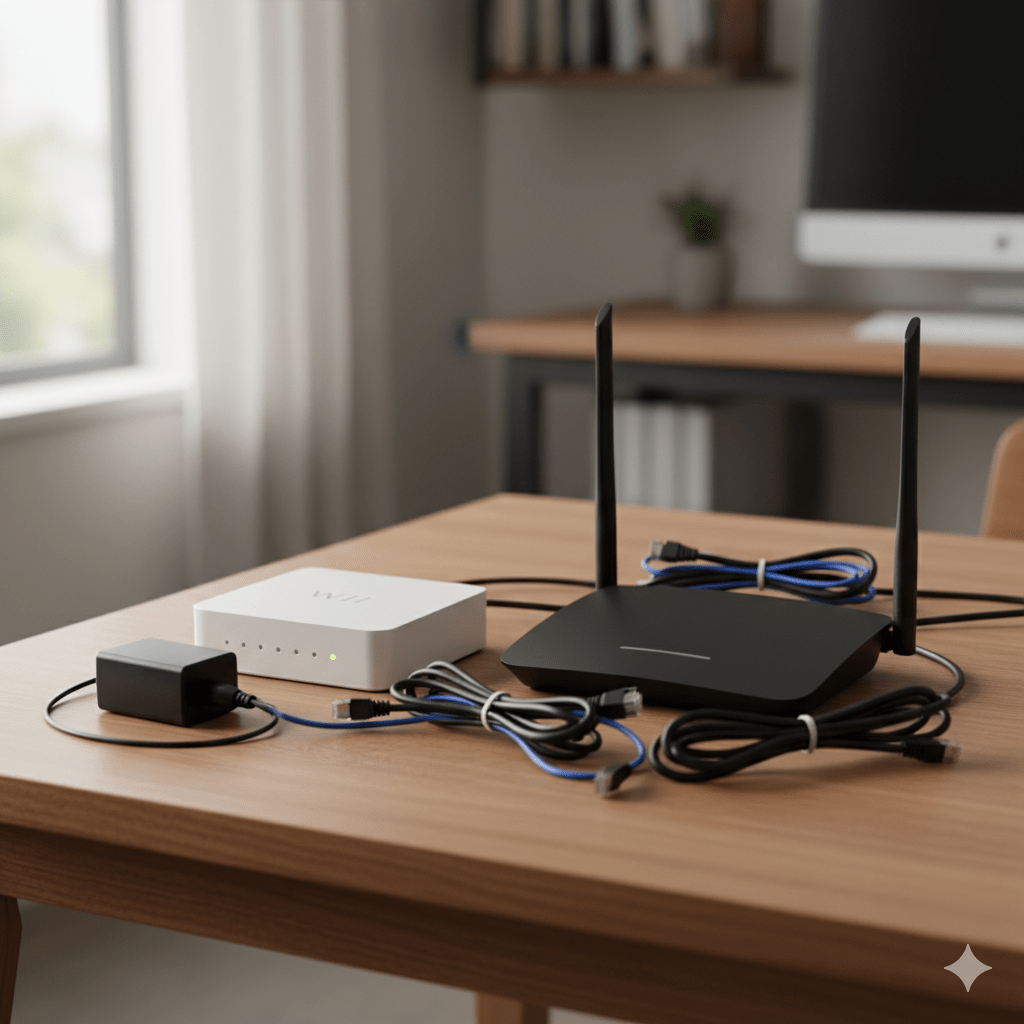
- Open the box and take out:
- Router
- Power adapter
- One or more Ethernet cables
- Quick start guide
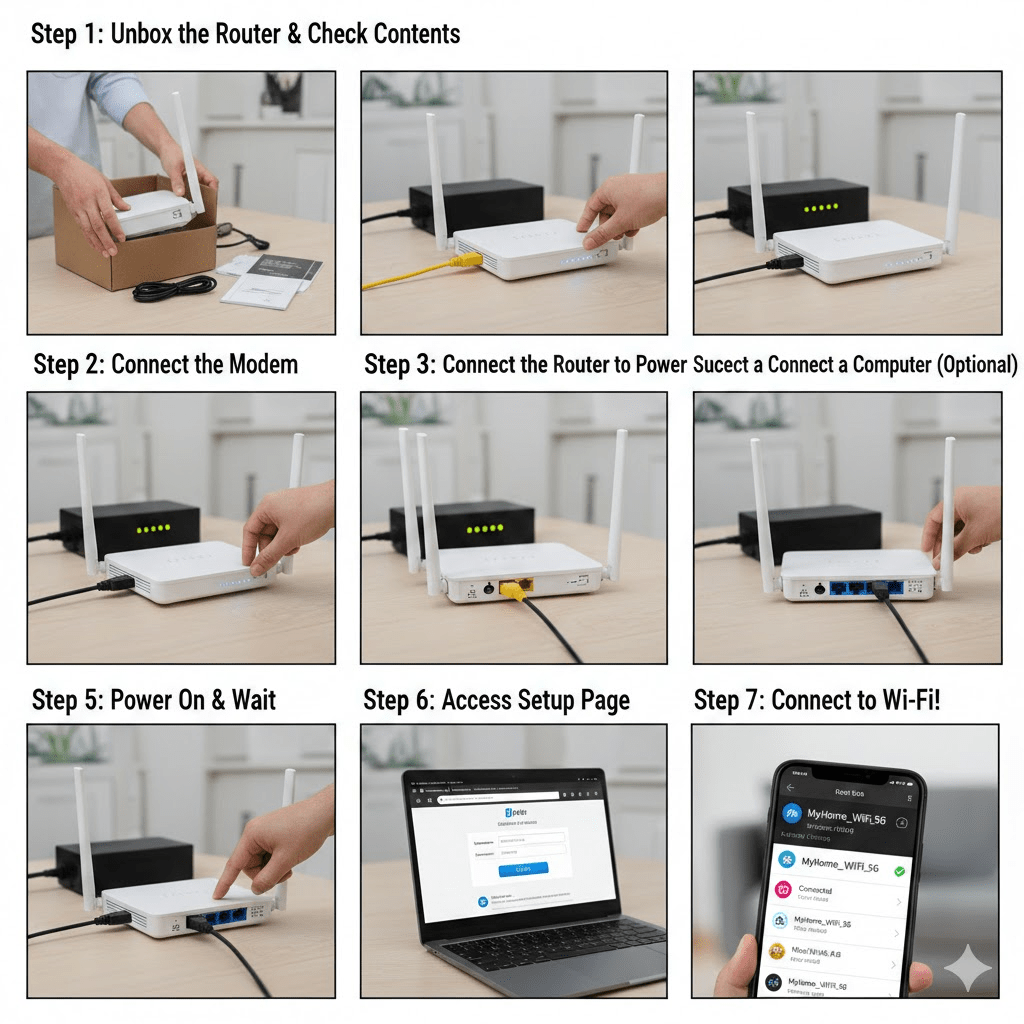
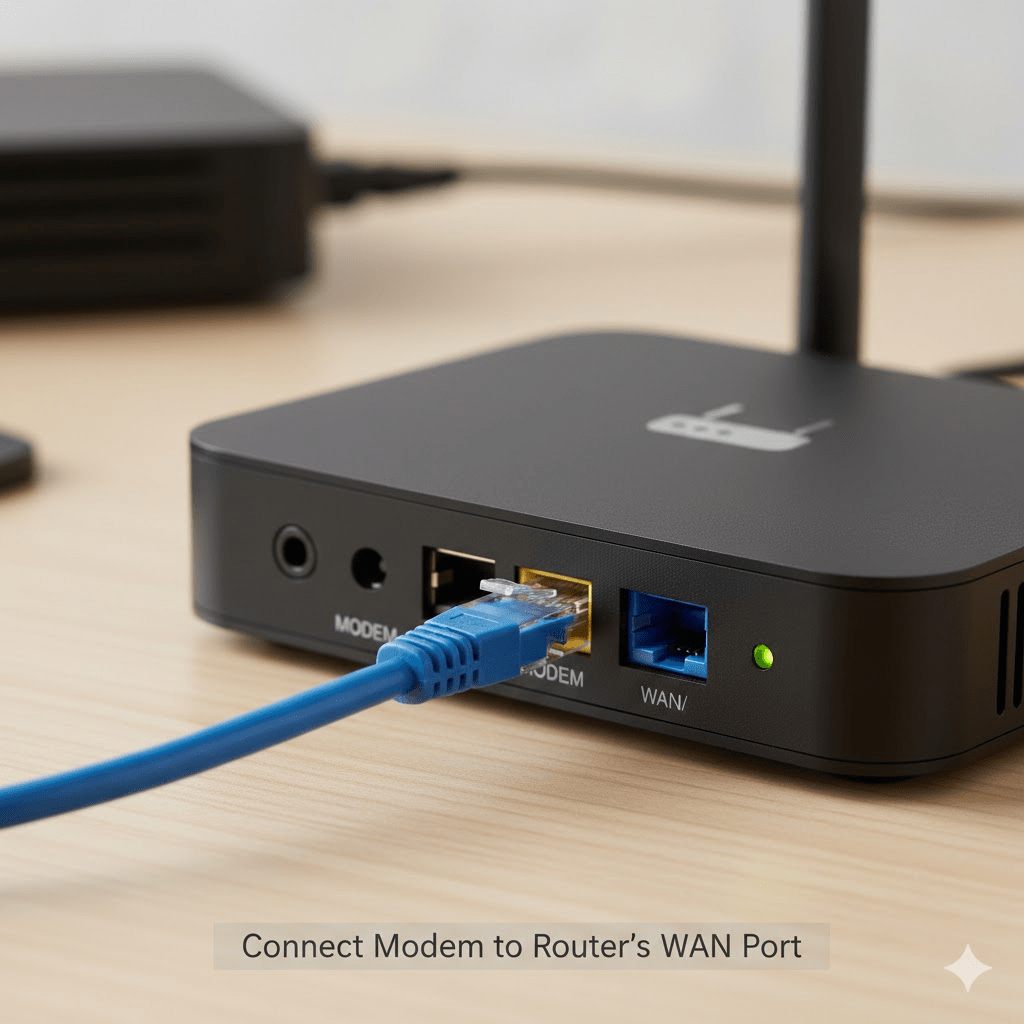
Step 3: Connect the Router to the Modem
- Turn off the modem (unplug its power).
- Plug one end of the Ethernet cable into the modem.
- Plug the other end into the router’s WAN or Internet port (usually a different color from the LAN ports).
- Plug the modem back into power and wait until its lights are stable.
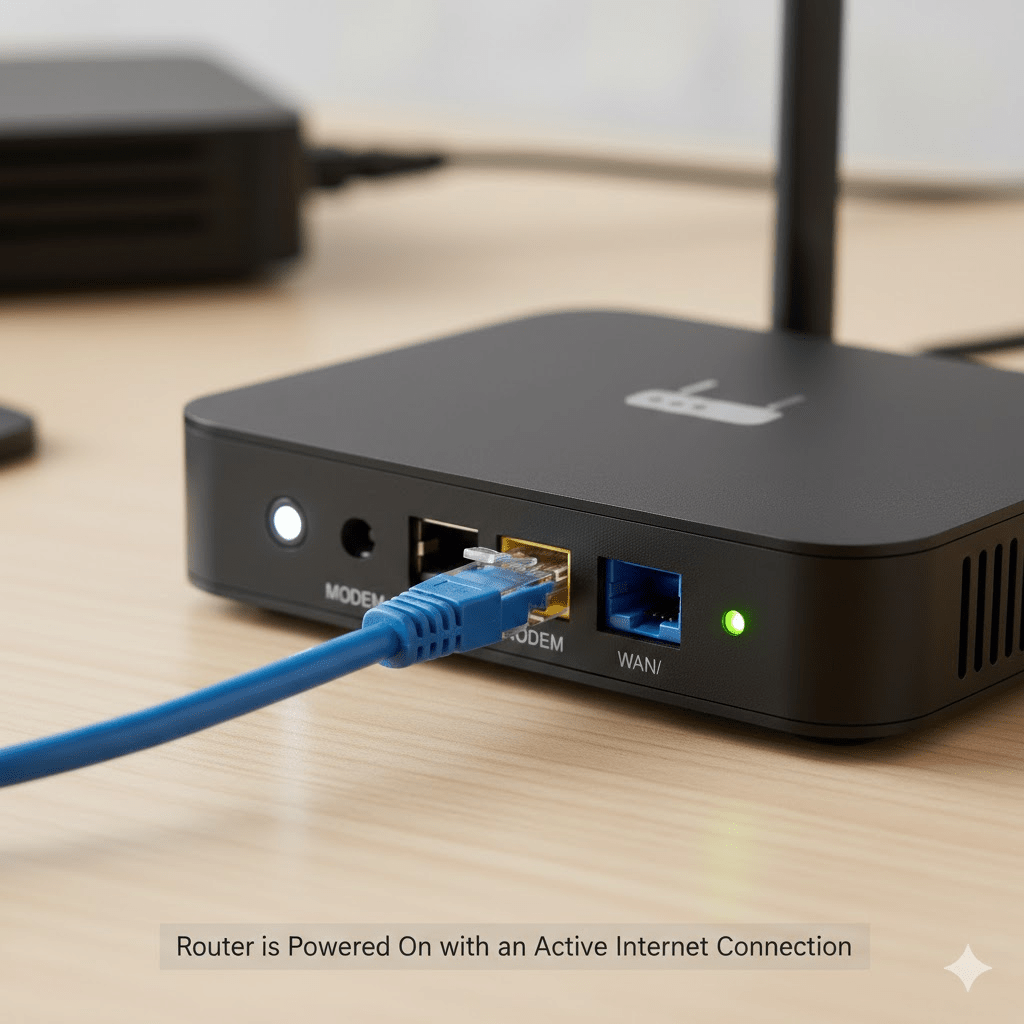
Step 4: Power On the Router
- Connect the router’s power adapter.
- Plug it into a power outlet and turn it on (if there’s a power button).
- Wait 1–2 minutes for the router lights to stabilize.
Step 5: Connect Your Device to the Router
You can connect by Wi‑Fi or Ethernet.
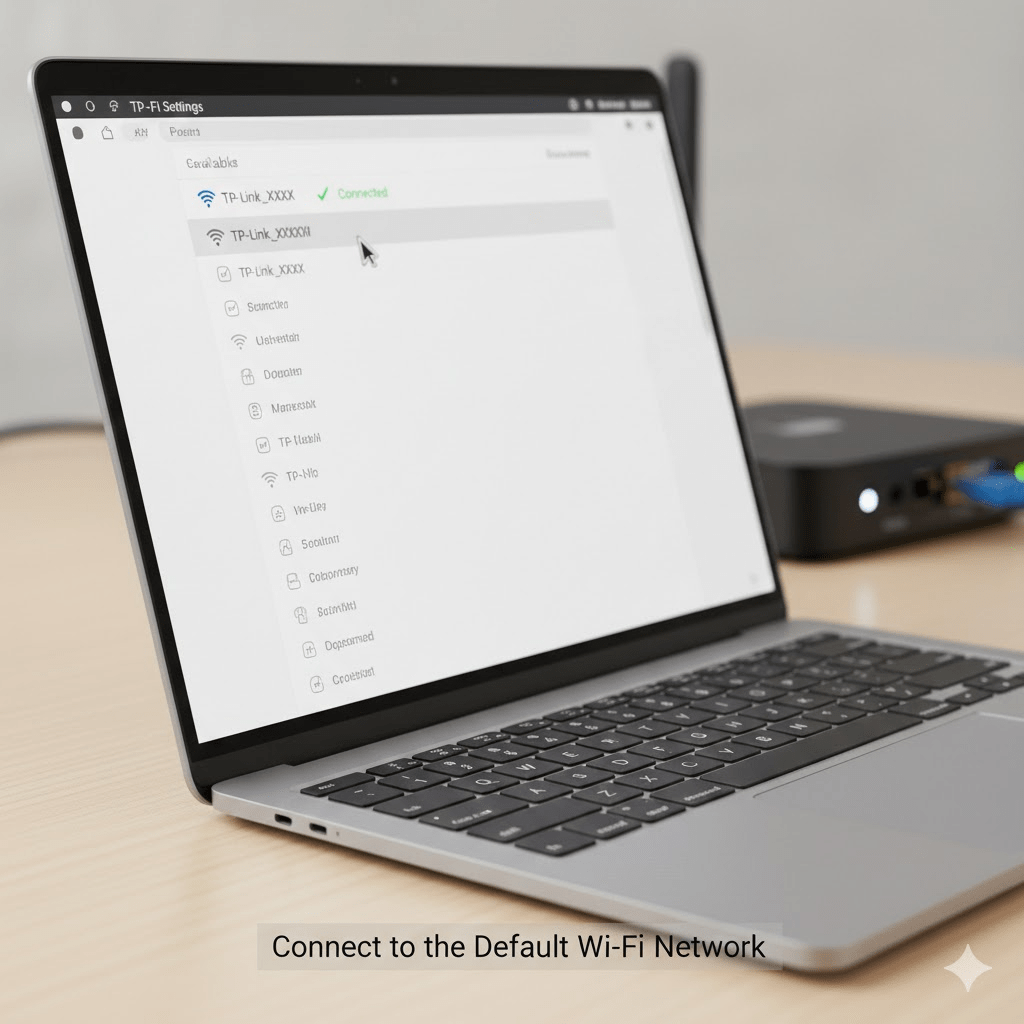
Option A: Connect via Wi‑Fi
- Look at the label on the bottom or back of the router.
- You’ll see the default Wi‑Fi name (SSID) and Wi‑Fi password.
- On your phone or laptop, open Wi‑Fi settings.
- Select the router’s default Wi‑Fi name.
- Enter the default password and connect.
Option B: Connect via Ethernet
- Plug an Ethernet cable into any LAN port on the router.
- Plug the other end into your computer.
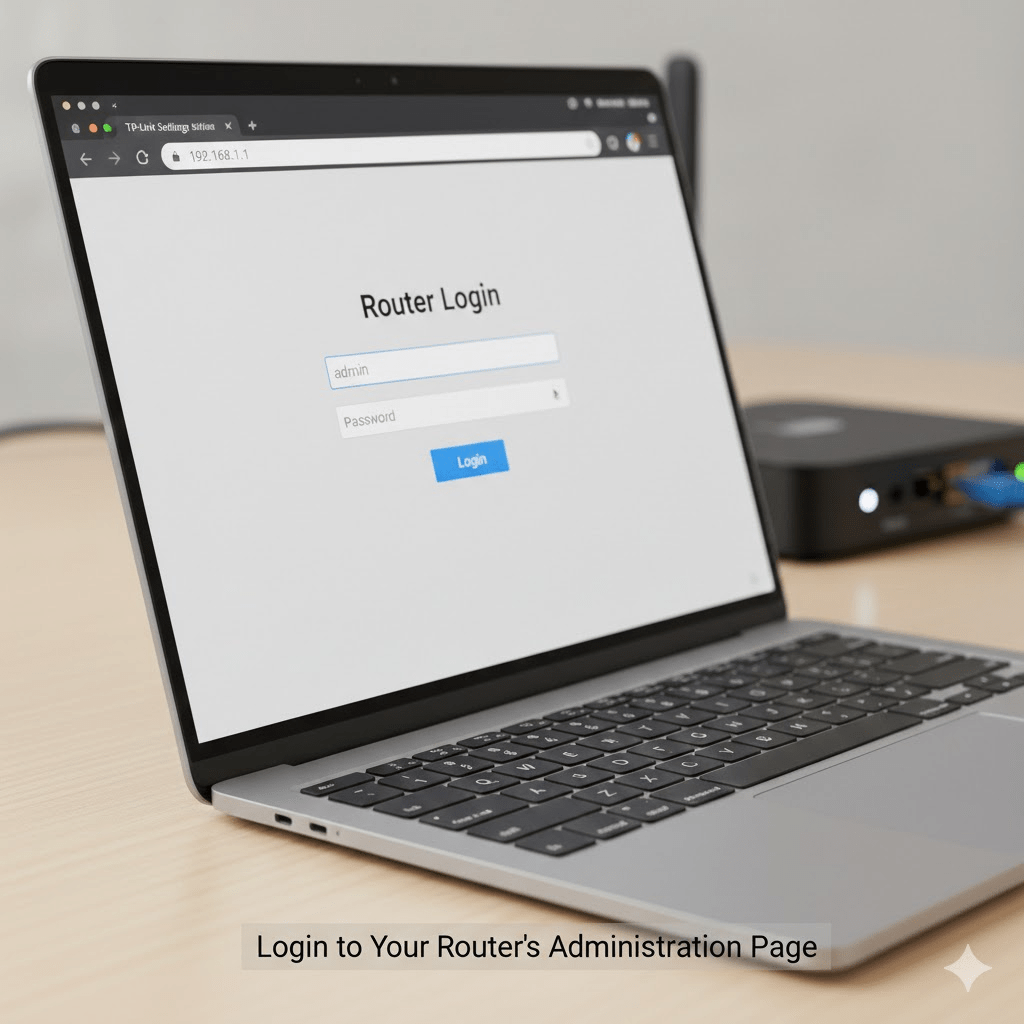
Step 6: Open the Router Setup Page
- Open a web browser (Chrome, Firefox, Edge, etc.).
- Type the router’s IP address in the address bar, for example:
192.168.0.1or192.168.1.1
(Check the label or manual for the exact address.)
- You’ll see a login screen.
- Enter the default username and password (often
admin/adminoradmin/password– check the label or manual).
Step 7: Run the Internet Setup (WAN Setup)
Most routers have a Setup Wizard or Quick Setup option.
- Look for Quick Setup, Internet Setup, or Wizard in the menu.
- Follow the on‑screen steps.
- If your ISP gave you special settings (PPPoE username/password, static IP, etc.), enter them here.
- Save or apply the settings and wait for the router to reconnect.

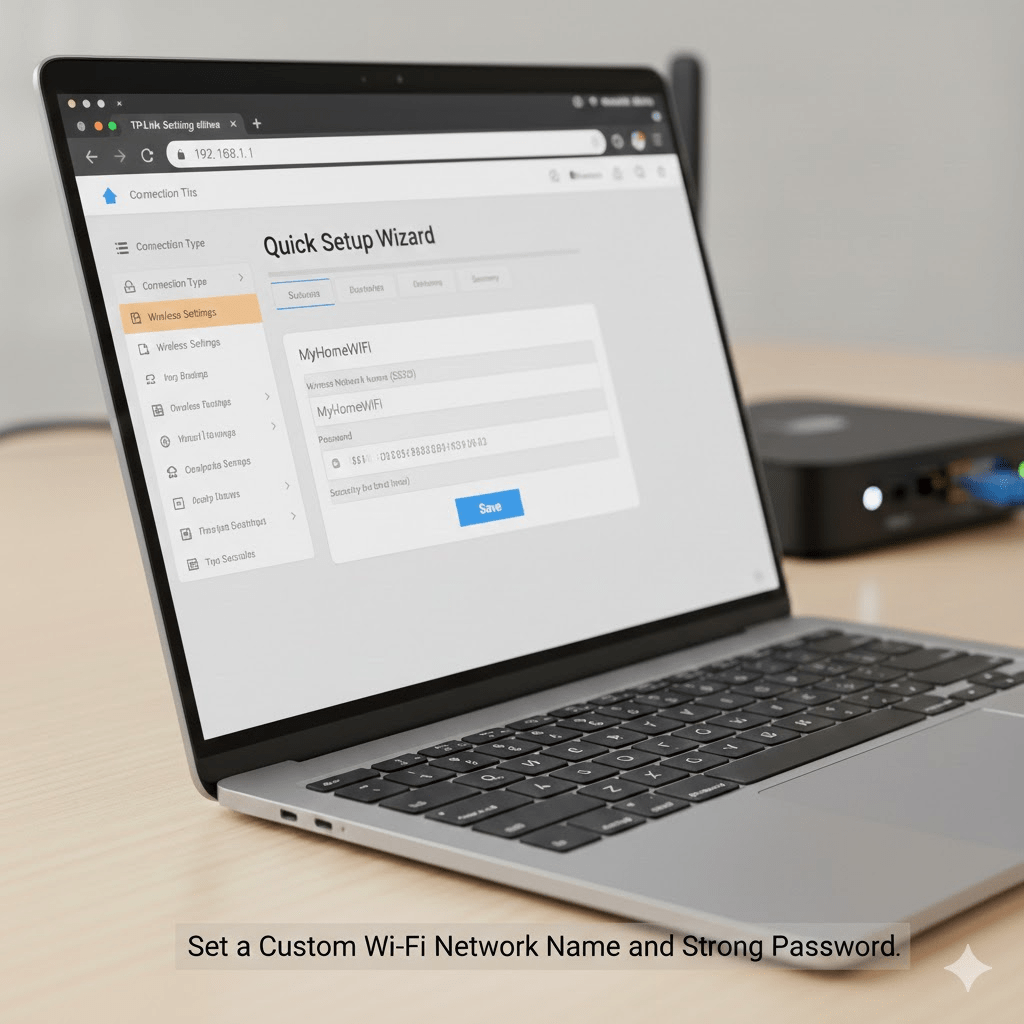
Step 8: Change the Wi‑Fi Name and Password
This is important for security.
- In the router menu, open Wireless or Wi‑Fi Settings.
- Change the SSID (Wi‑Fi name) to something unique (e.g.,
MyHomeWiFi). - Set Security to WPA2‑PSK or WPA3 if available.
- Choose a strong Wi‑Fi password (at least 12 characters, mix of letters, numbers, symbols).
- Click Save or Apply.
- Your devices will disconnect; reconnect them using the new Wi‑Fi name and password.
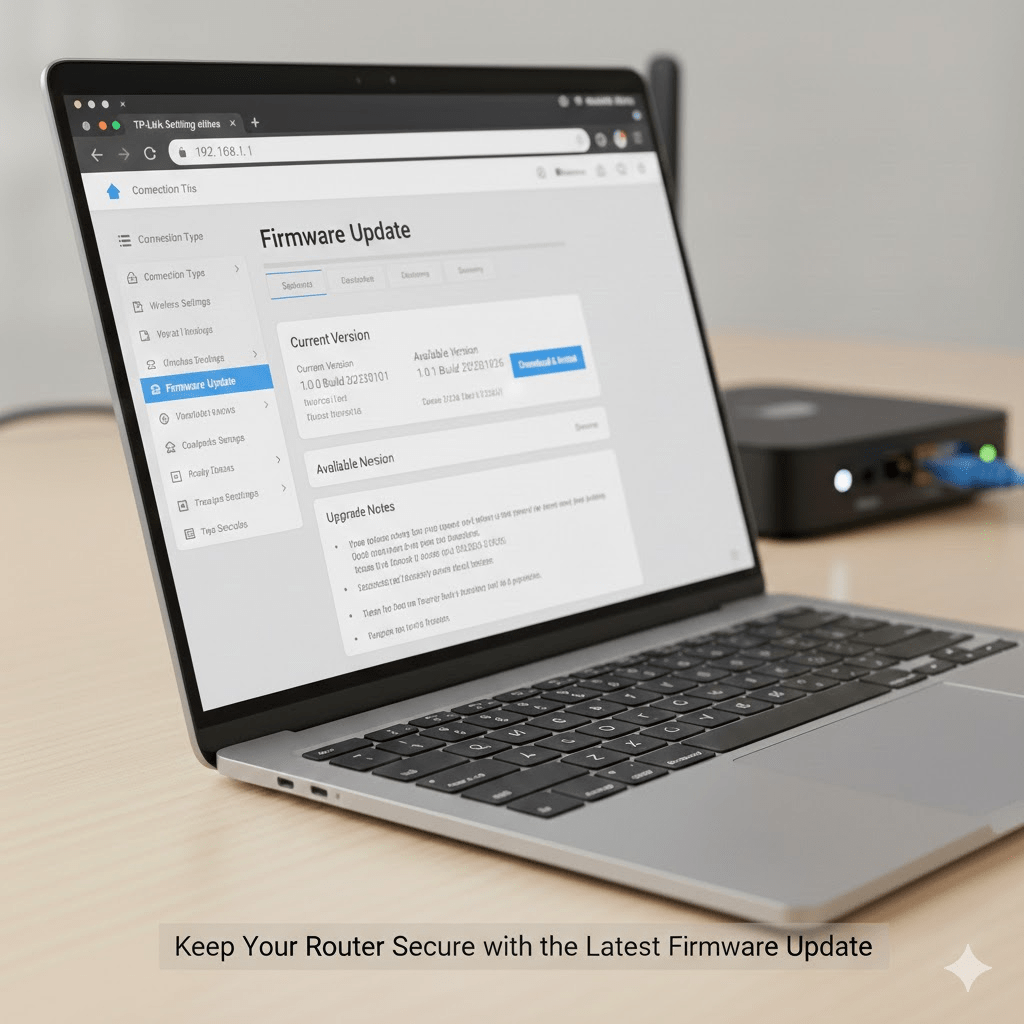
Step 9: Update the Router Firmware (Recommended)
- In the admin menu, look for Firmware, System Update, or Administration.
- Check for updates.
- If an update is available, follow the instructions to install it.
- Do not turn off power during the update.
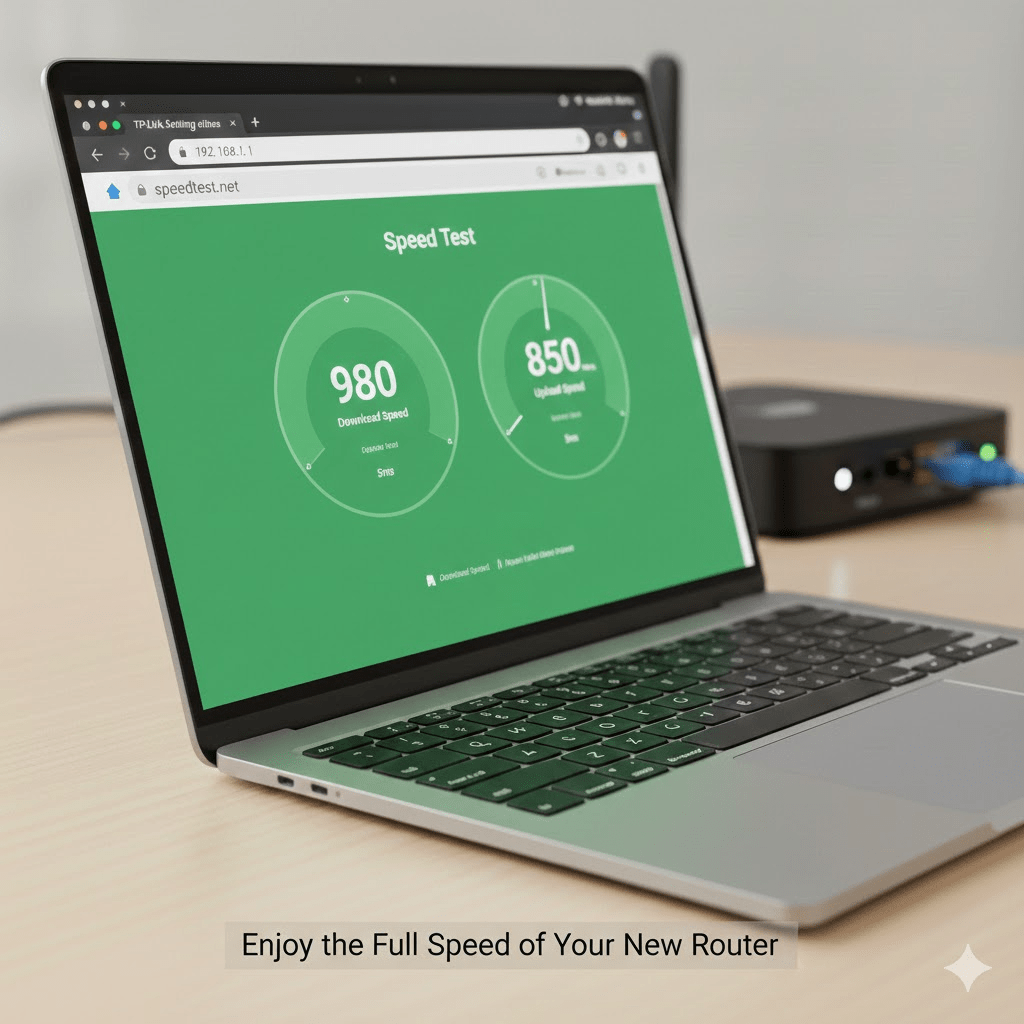
Step 10: Test Your Internet Connection
- Connect your phone or laptop to the new Wi‑Fi network.
- Open a website (for example,
https://www.google.com). - If it loads quickly, your router is installed correctly.
- Optionally, use an online speed test (e.g.,
speedtest.net) to check your internet speed.
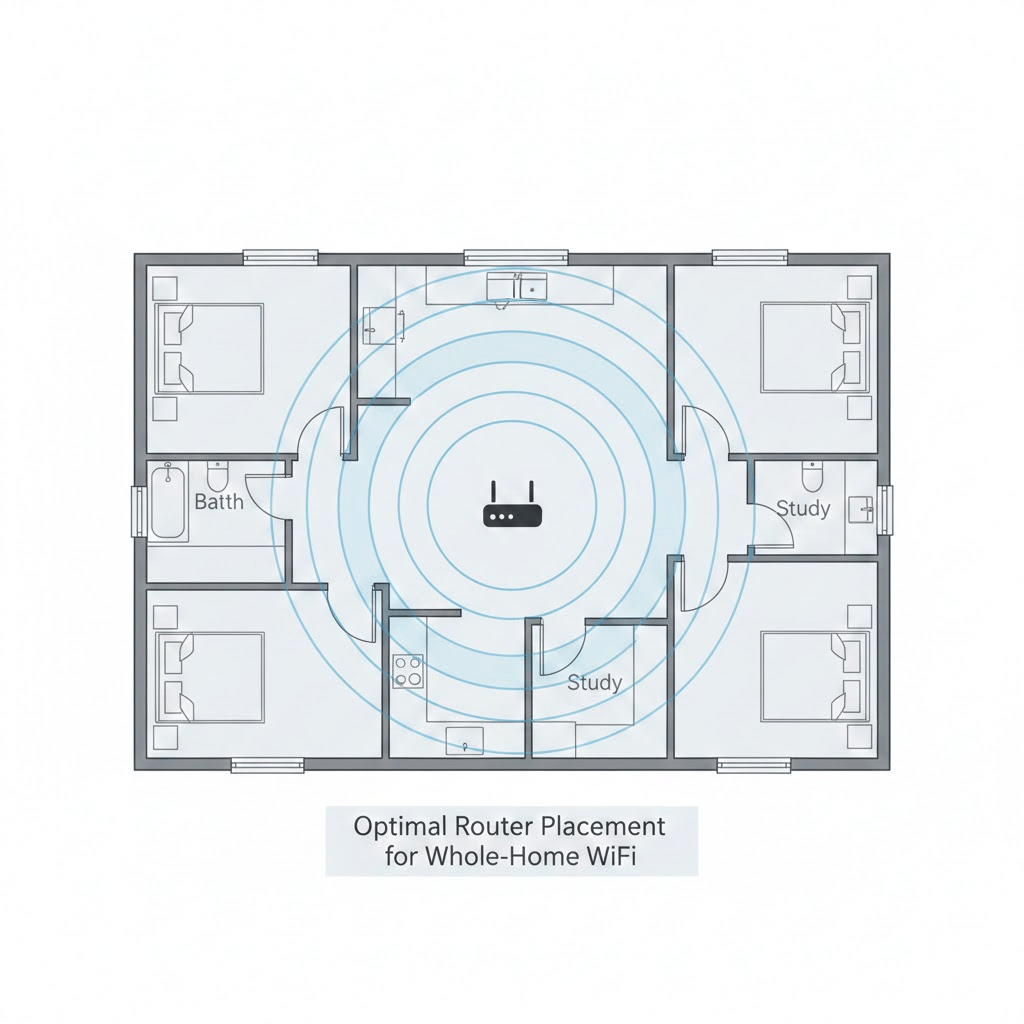
Extra Tips for Better Wi‑Fi
- Place the router higher (on a shelf or table).
- Point antennas (if any) in slightly different directions.
- Change the Wi‑Fi channel in settings if you have many neighbors’ networks.
- Use 5 GHz band for faster speed (shorter range), 2.4 GHz for longer range.
How to Add Images in WordPress (Gutenberg Editor)
- Log in to your WordPress dashboard.
- Go to Posts → Add New (or edit an existing post).
- Use Heading blocks for each step (
Step 1,Step 2, etc.). - Where you want an image:
- Click the + button.
- Choose Image block.
- Click Upload to add your image file or Media Library if already uploaded.
- In the Alt Text field, paste the matching alt text from above.
- Add a short caption under each image if you like (e.g., “Connect the modem to the router’s WAN port.”).