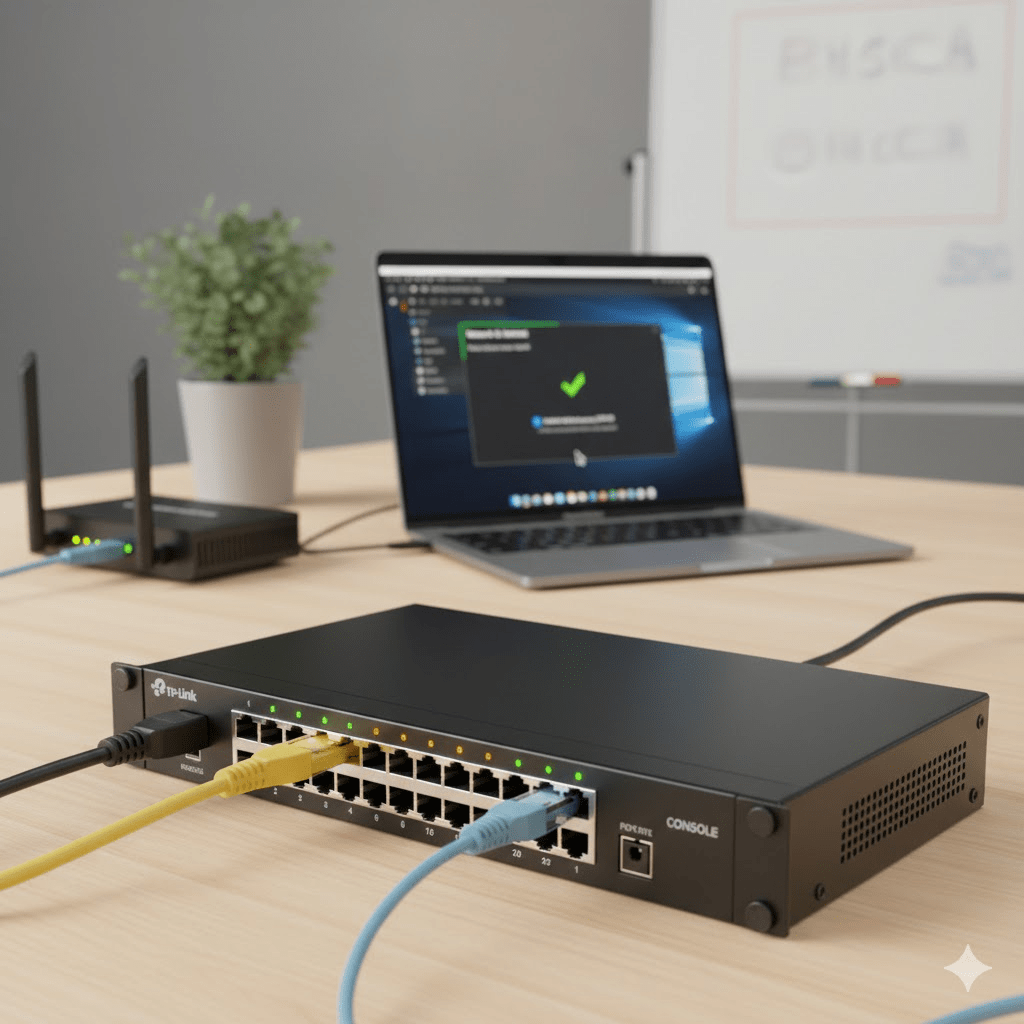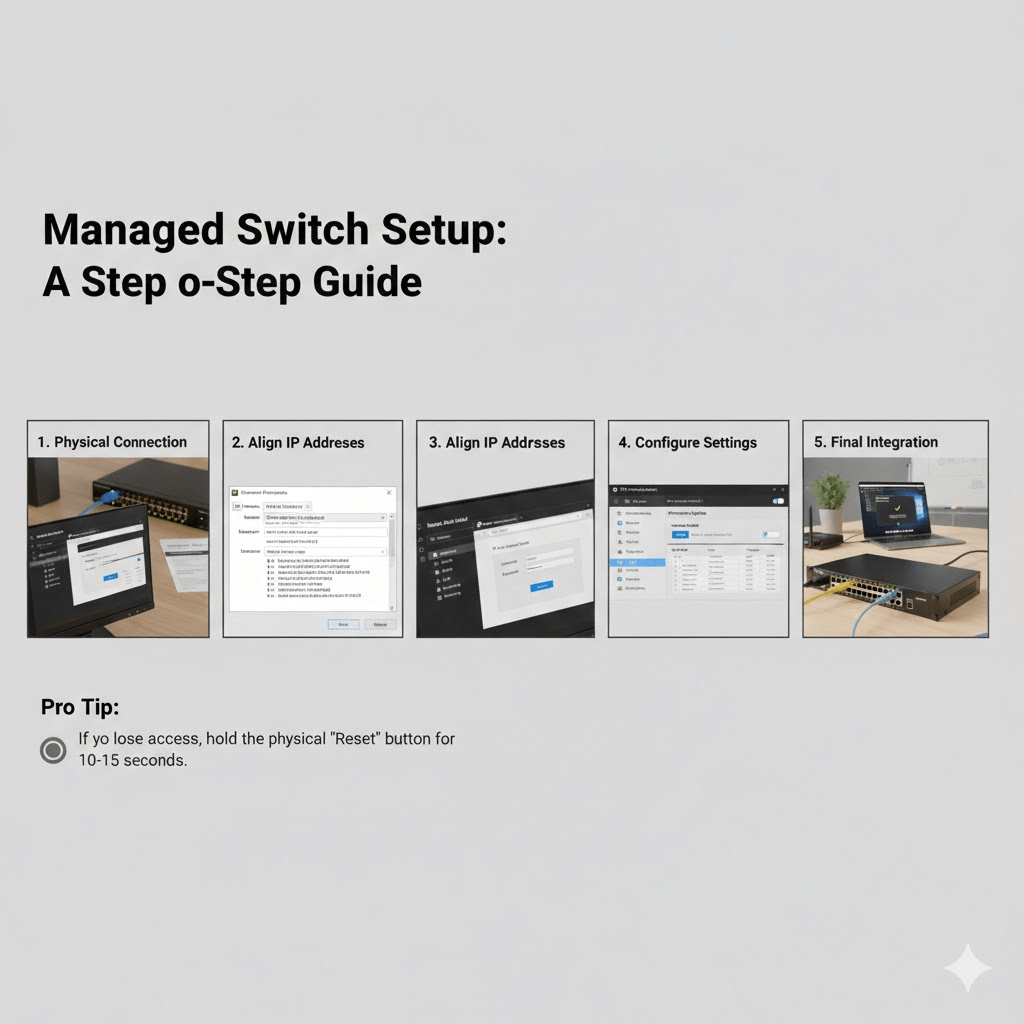
Here is a step-by-step guide to getting your managed switch up and running.
1. Physical Connection
First, you need to establish a physical link between your computer and the switch to configure it.
- Power: Connect the switch to a power source. Wait for the status lights (usually labeled “SYS” or “Power”) to stabilize.
- The “Console” vs. Ethernet: Most modern switches allow configuration via a standard Ethernet port. However, enterprise-grade switches often have a dedicated Console Port (RJ45 or USB-C).
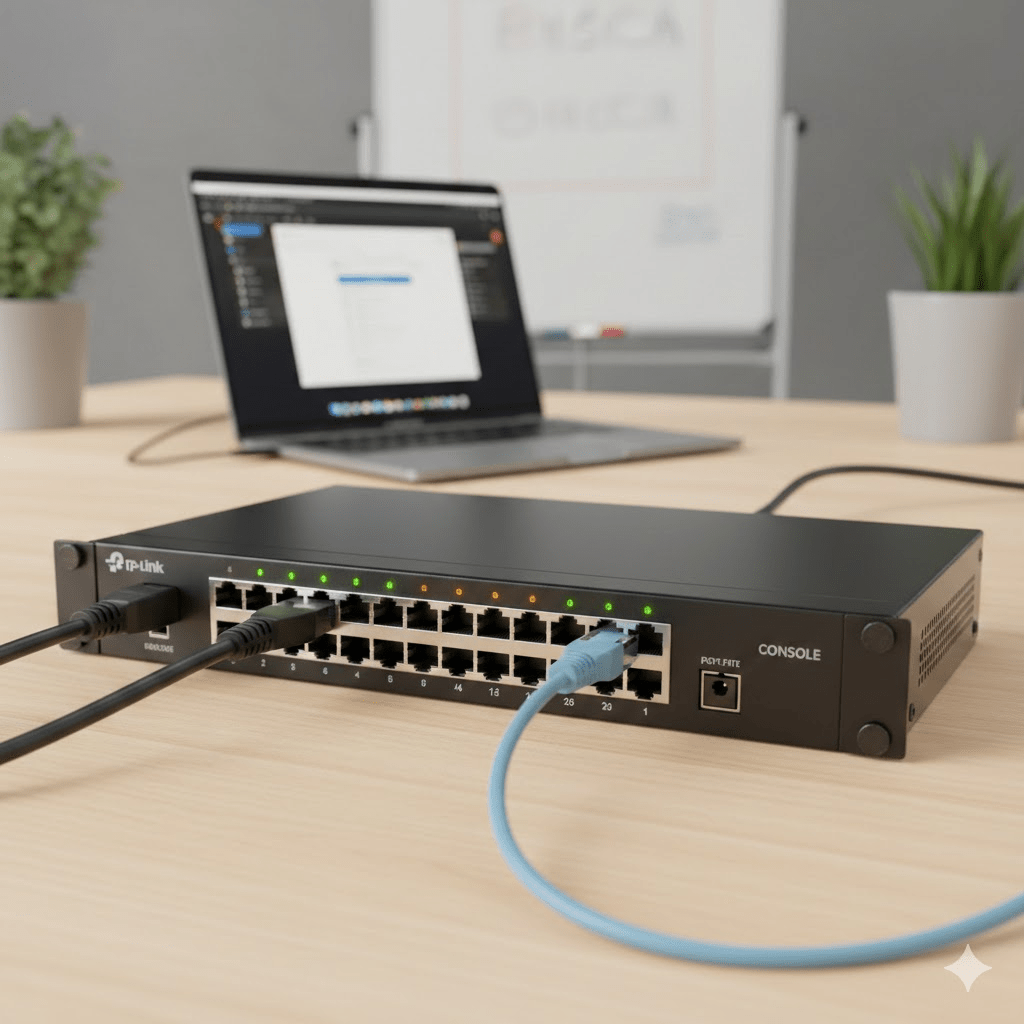
- Direct Link: Plug an Ethernet cable from your computer’s network port into any port on the switch (Port 1 is standard practice).
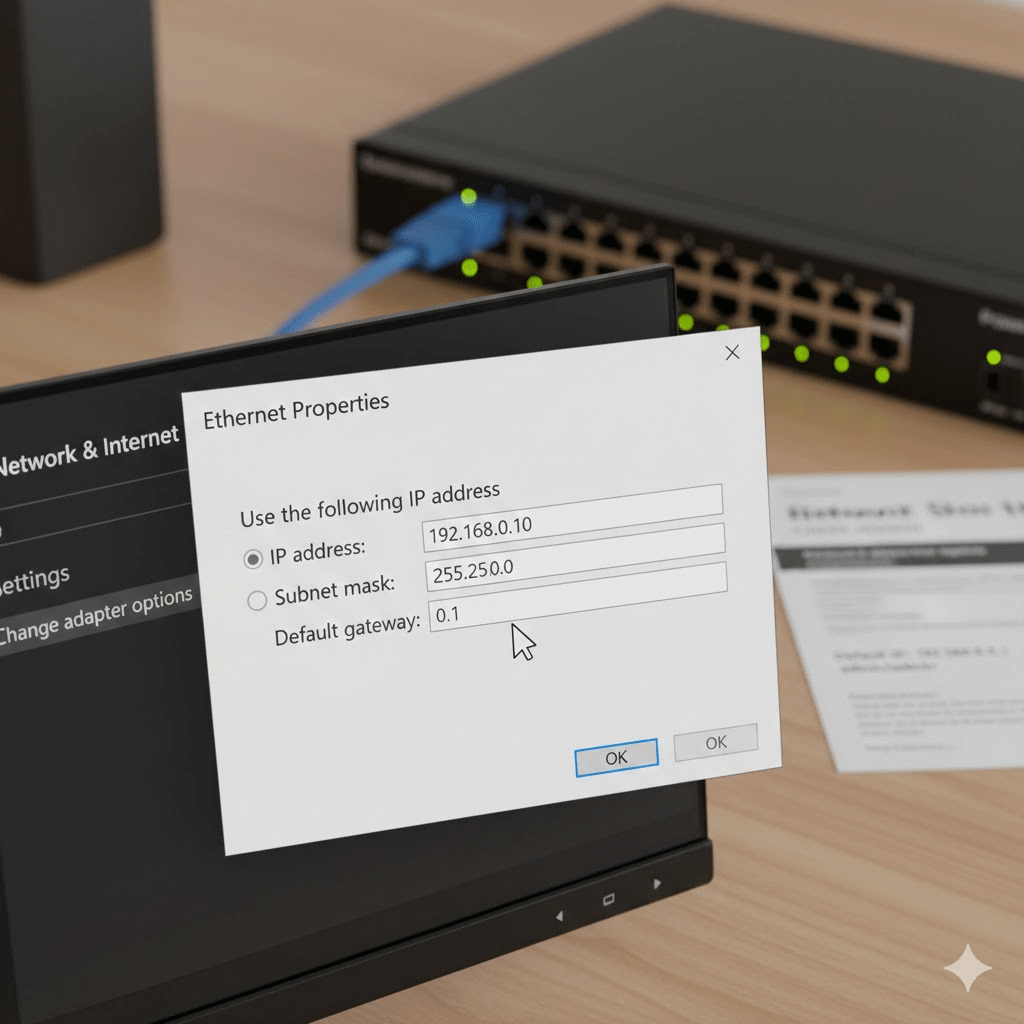
2. Align Your IP Addresses
Managed switches have a Default IP Address (e.g., 192.168.0.1 or 192.168.1.1). To talk to the switch, your computer must be on the same “subnet.”
- Check the sticker on the bottom of the switch for the default IP and credentials.
- On your PC, go to Network Settings > Change Adapter Options.
- Right-click your Ethernet connection > Properties > IPv4.
- Set a Static IP manually. If the switch is
192.168.0.1, set your PC to192.168.0.10.
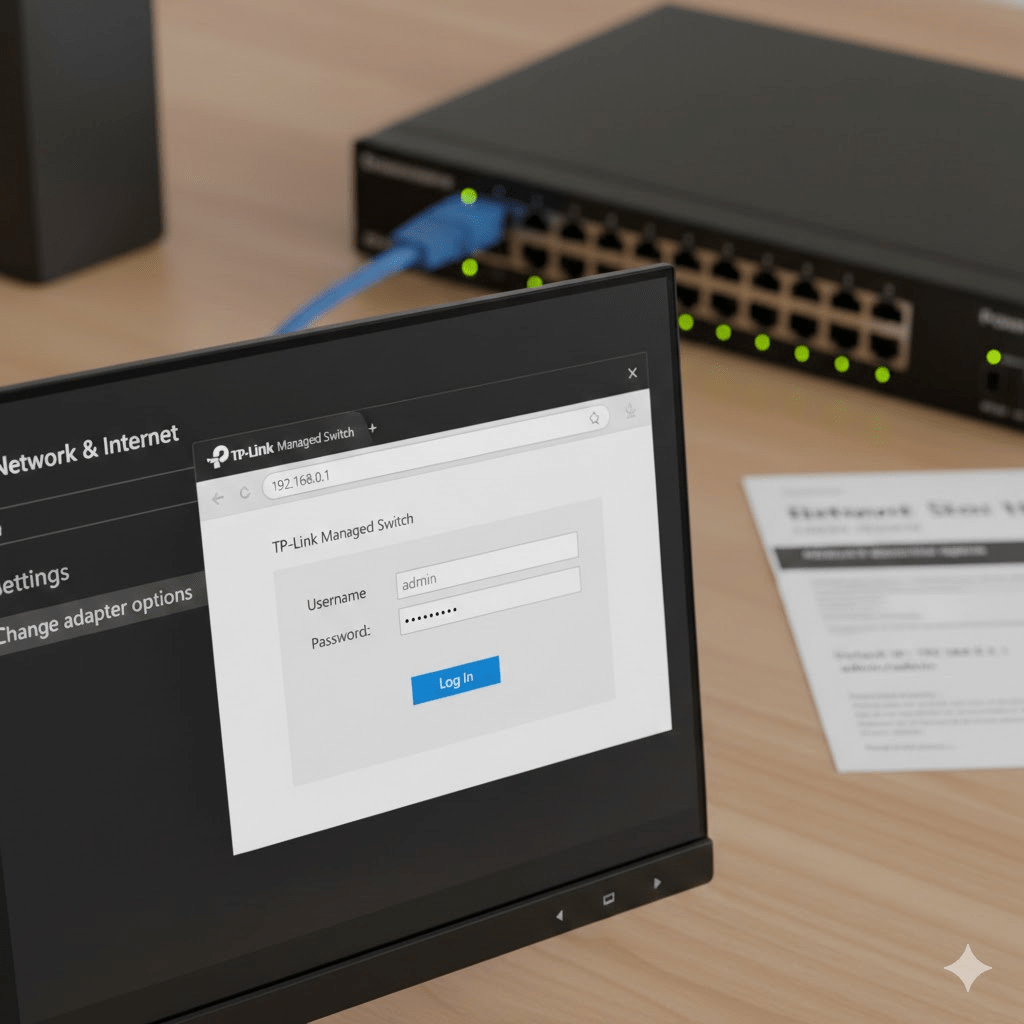
3. Access the Management Interface
Now that you are “speaking the same language” as the switch, open a web browser.
- Type the Default IP into the address bar.
- Log in using the default credentials (usually
admin/adminoradmin/password). - Crucial Step: The switch will likely prompt you to change the password immediately. Do not skip this. Use something strong; this is the key to your entire network.
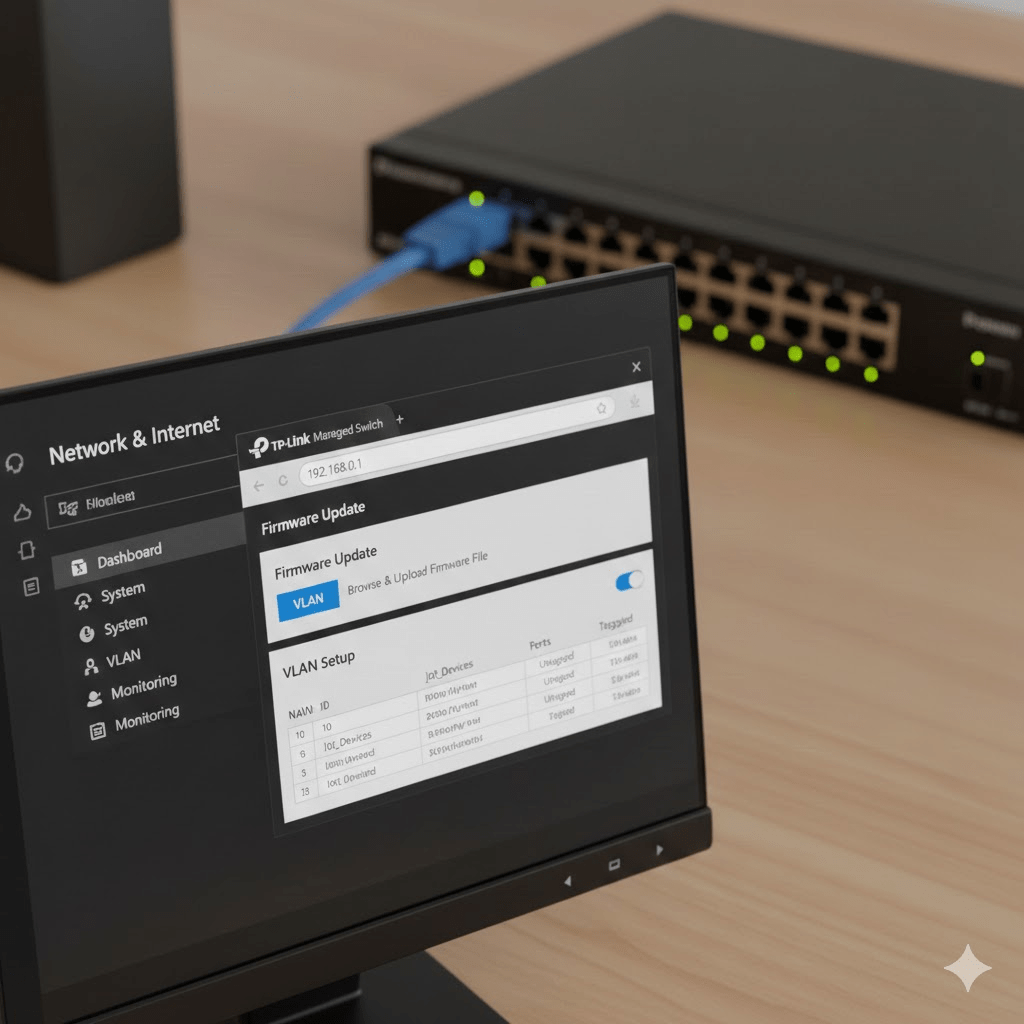
4. Key Initial Settings
Once you’re inside the dashboard, there are three things you should prioritize:
A. Firmware Update
Manufacturers release patches for security vulnerabilities and bugs. Look for “System” or “Maintenance” and upload the latest firmware from the manufacturer’s website.
B. VLAN Setup (Virtual LANs)
This is why you bought a managed switch! You can segment your traffic (e.g., putting “Internet of Things” devices on a separate VLAN from your main PCs).
- Assign a VLAN ID.
- Designate ports as Tagged (passing multiple VLANs) or Untagged (for end devices like a printer).
C. Enable SNMP or Monitoring
If you want to see fancy graphs of your data usage later, ensure SNMP (Simple Network Management Protocol) is enabled.
5. Final Integration
Now that the switch is configured:
- Connect an Ethernet cable from your Router to the switch.
- Set your computer back to “Obtain an IP address automatically (DHCP)” in your network settings.
- Test your internet connection through the switch.
Tip: If you lose access to the interface because you changed an IP setting incorrectly, look for the physical Reset button on the front panel. Hold it for 10-15 seconds to return to factory defaults and try again.